Overview#
A main goal that I had as Creative Director was to deliver an experience that was both fun to play but also visually appealing and whimsical, which immersed the player in the magical world Interweaver took place in. The Art Team and I settled on a stylized, almost hand-drawn aesthetic early into production, which was ideal for our smaller team of emerging artists.
I personally played a key role in this initiative as the main Technical Artist, and was responsible for the majority of shaders, VFX, and post-production effects that shipped with the final product and helped define the game’s visual identity. I was also responsible for ensuring they were seamlessly integrated into the game’s systems and animations without causing any performance issues, including lag or frame drops.
Shaders/HLSL#
I was responsible for authoring the vast majority of shaders used throughout Interweaver, which were applied to objects, the game environment, and supplemented visual effects. These shaders were crucial in defining the game’s distinct visual aesthetic. I created most of my shadersk using ShaderGraph in Unity, with a few coupled with HLSL for more advanced effects and to optimize performance when necessary.
Water Shader#
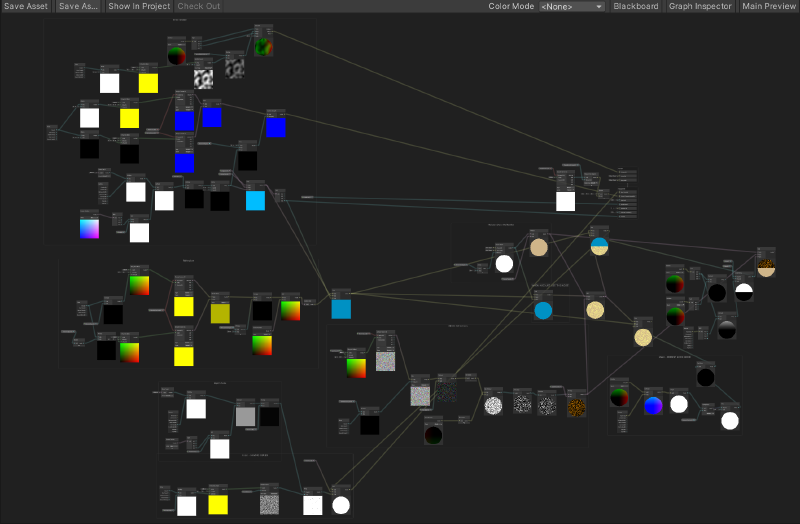
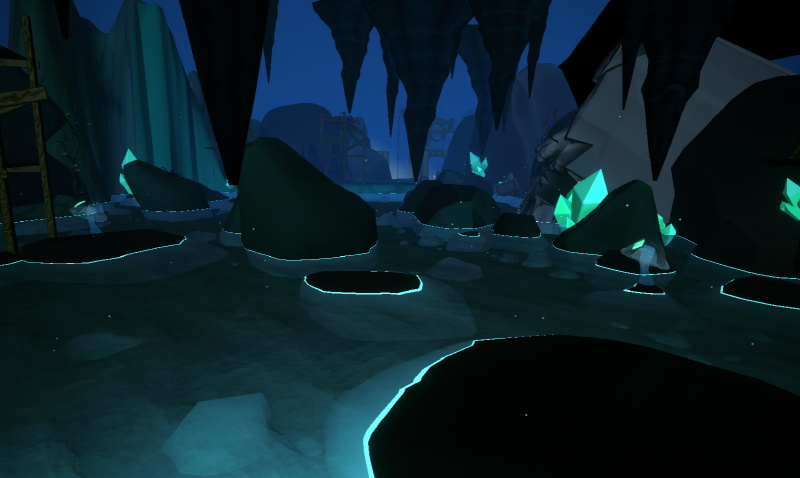
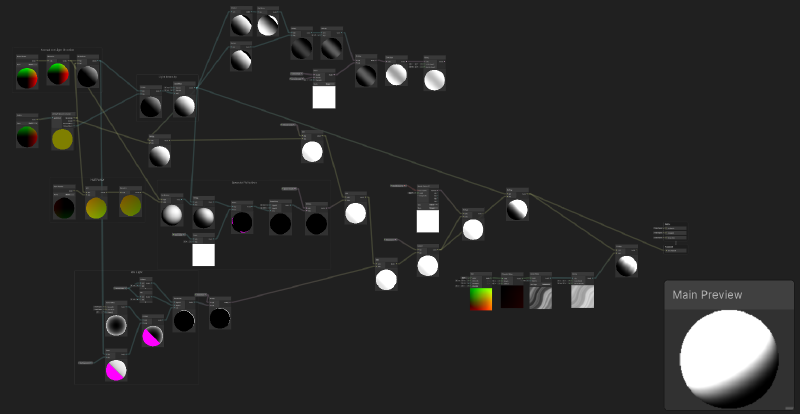
One of the most challenging shaders I created for this project was our Water Shader. This involved a ShaderGraph with multiple Subgraphs and was not only challenging to conceptualize, but to translate into a functional shader that met both aesthetic and performance requirements.
[water shader photo here]
Development Process
This shader involved many different components, including wave distortion, depth fade, reflections, refraction, ripple texture, and foam. It was also performant due to favoring calculated effects over expensive texture sampling, and utilized shared ShaderGraph subgraphs to avoid unnecessary shader variants. This allowed the shader to scale across many scenes and water volumees without increasing draw calls or shader complexity.
The shader worked by using the camera plane to project scene color onto the water surface, enabling dynamic reflection and distortion effects. While the effect looked great from a static camera angle, it introduced a challenge at times when one water volume could be viewed from varying heights or angles. Each piece was created with multiple exposed variables to tweak per instance so it was highly reusable.
Ripple Shader#
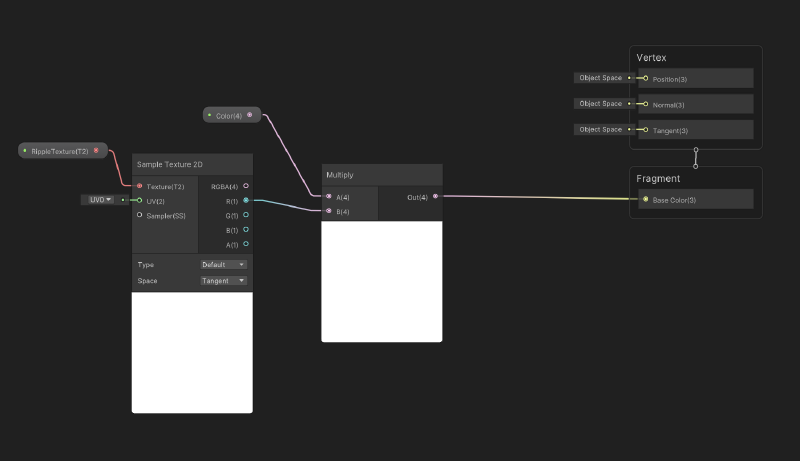
To compliment the Water Shader and to ensure the player’s movement felt natural as they moved through the water, I created an accompanying Ripple shader that dynamically trailed the player through water.
[make into final ripple shader video]
Unlike the Water Shader, which was built in ShaderGraph with various subgraphs, the Ripple shader was implemented as a custom .shader written in HLSL and driven through C#. It operated using RenderTextures that updated each frame with the player’s position to simulate ripple propogation. The existing waves from the Water Shader presented a technical challenge for this effect, so I implemented this shader to sample neighboring pixels from the current and previous frames to simulate natural wave propogation without introducting additional vertex displacement, as the surface motion was being handled by the primary Water shader.
I included a bit of the implementation below:
IEnumerator ripples()
{
   AddMat.SetTexture("_ObjectsRenderTexture", ObjectsRenderTexture);
   AddMat.SetTexture("_CurrentRenderTexture", CurrRenderTexture);
   Graphics.Blit(null, TempRenderTexture, AddMat);

   RenderTexture renderTexture = TempRenderTexture;
   TempRenderTexture = CurrRenderTexture;
   CurrRenderTexture = renderTexture;

   // Calculate the ripple animation using ripple shader.
   RippleMat.SetTexture("_PrevRenderTexture", PrevRenderTexture);
   RippleMat.SetTexture("_CurrentRenderTexture", CurrRenderTexture);
   Graphics.Blit(null, TempRenderTexture, RippleMat);
   Graphics.Blit(TempRenderTexture, PrevRenderTexture);

   // Calculate the result for the next frame.
   RenderTexture rt = PrevRenderTexture;
   PrevRenderTexture = CurrRenderTexture;
   CurrRenderTexture = rt;

   yield return null;
   StartCoroutine(ripples());
}
Overall Game Shader#
To achieve the intended hand-painted, stylized aesthetic, I created a csutom shader that defined the visual style of the game. It uses techniques from cel and subsurface scattering shaders to create a the soft, painted vibe I wanted. It was important that the shader simplified lighting, controlled shadow thresholds, and preserved color vibrancy to support our stylized, hand-painted aesthetic.
[shader before and after]
Cloud Shader#
One of our levels was took place partially high up in the clouds on floating islands. To give the effect of being high in the sky and control player visibility across certain areas of the level, we incorporated volumetric clouds in this section. This created the need for a custom shader because we needed a way to support player movement through the clouds while also preserving their volumetric depth, wispiness, and transparency.
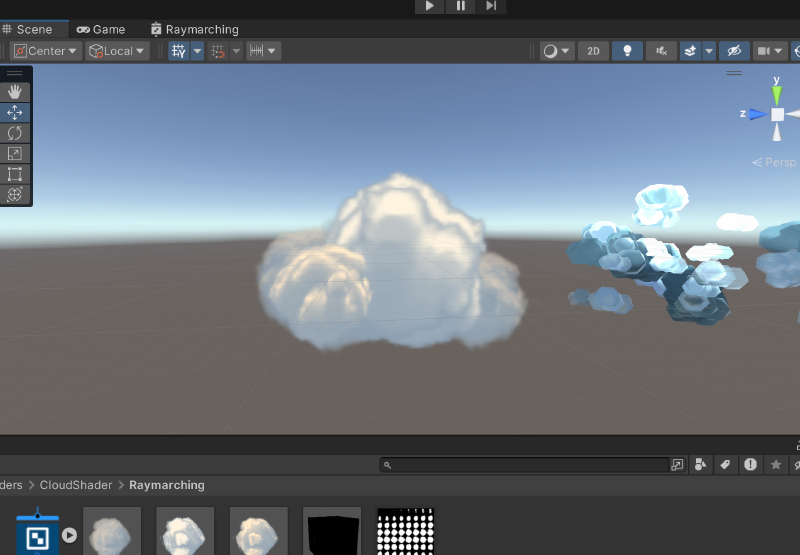
To solve this, I implemented a raymarching technique to render volumetric clouds in 3D space that maintained depth and transparency to allow the camera to pass physically through them and maintain visual fidelity. You can see a snippet below explaining how the shader raymarches through a 3D density field while performing secondary light sampling to approximate scattering and shadowing inside the cloud volume.
for (int i = 0; i < numSteps; i++) {
	rayOrigin += (rayDirection * stepSize);

	// The blue dot position
	float3 samplePos = rayOrigin + offset;
	float sampledDensity = SAMPLE_TEXTURE3D(volumeTex, volumeSampler, samplePos).r;
	density += sampledDensity * densityScale;

	float3 lightRayOrigin = samplePos;

	for (int j = 0; j < numLightSteps; j++) {
		// The red dot position
		lightRayOrigin += -lightDir * lightStepSize;
		float lightDensity = SAMPLE_TEXTURE3D(volumeTex, volumeSampler, lightRayOrigin).r;
		// The accumulated density from samplePos to the light - the higher this value the less light reaches samplePos
		lightAccumulation += lightDensity;
	}

	// The amount of light received along the ray from param rayOrigin in the direction rayDirection
	float lightTransmission = exp(-lightAccumulation);
	float shadow = darknessThreshold + lightTransmission * (1.0 - darknessThreshold);

	// The final light value is accumulated based on the current density, transmittance value and the calculated shadow value
	finalLight += density * transmittance * shadow;
	// Its value is updated at each step by lightAbsorb, this sets the light lost by scattering
	transmittance *= exp(-density * lightAbsorb);
}

transmission = exp(-density);
result = float3(finalLight, transmission, transmittance);
VFX Showcase#
Along with the Shaders, I created 30+ VFX and particle systems for Interweaver to supporting the game’s visual direction and providing players with meaningful feedback as they used mechanics and progressed through the game. These were mainly done in Unity’s VFX Graph and involved custom 3D models, textures, and calculations for particle behavior.
Here I will showcase most of the effects I made for Interweaver below. I tried to include the software used to create the effects as well as any additional interesting information:
(all of these are temp until i can grab better images tehe :)
[etc]